DIY Your Hair Topper to Look the Most Natural on You
![]() May 11, 2020
Views: 15826
May 11, 2020
Views: 15826
Today we are going to share some helpful tips and tricks from the wonderful Kali on how you can DIY your human hair topper to look natural on you.
Can a Topper Look Natural?
A common question many people have about hair toppers for women is whether they can look natural. The answer is a definite yes! With the right techniques and adjustments, a human hair topper can blend seamlessly with your natural hair. The key lies in choosing a good match and making small tweaks to personalize the topper so it suits your unique style and hair texture.
Kali’s First Experience Dyeing a Hair Topper
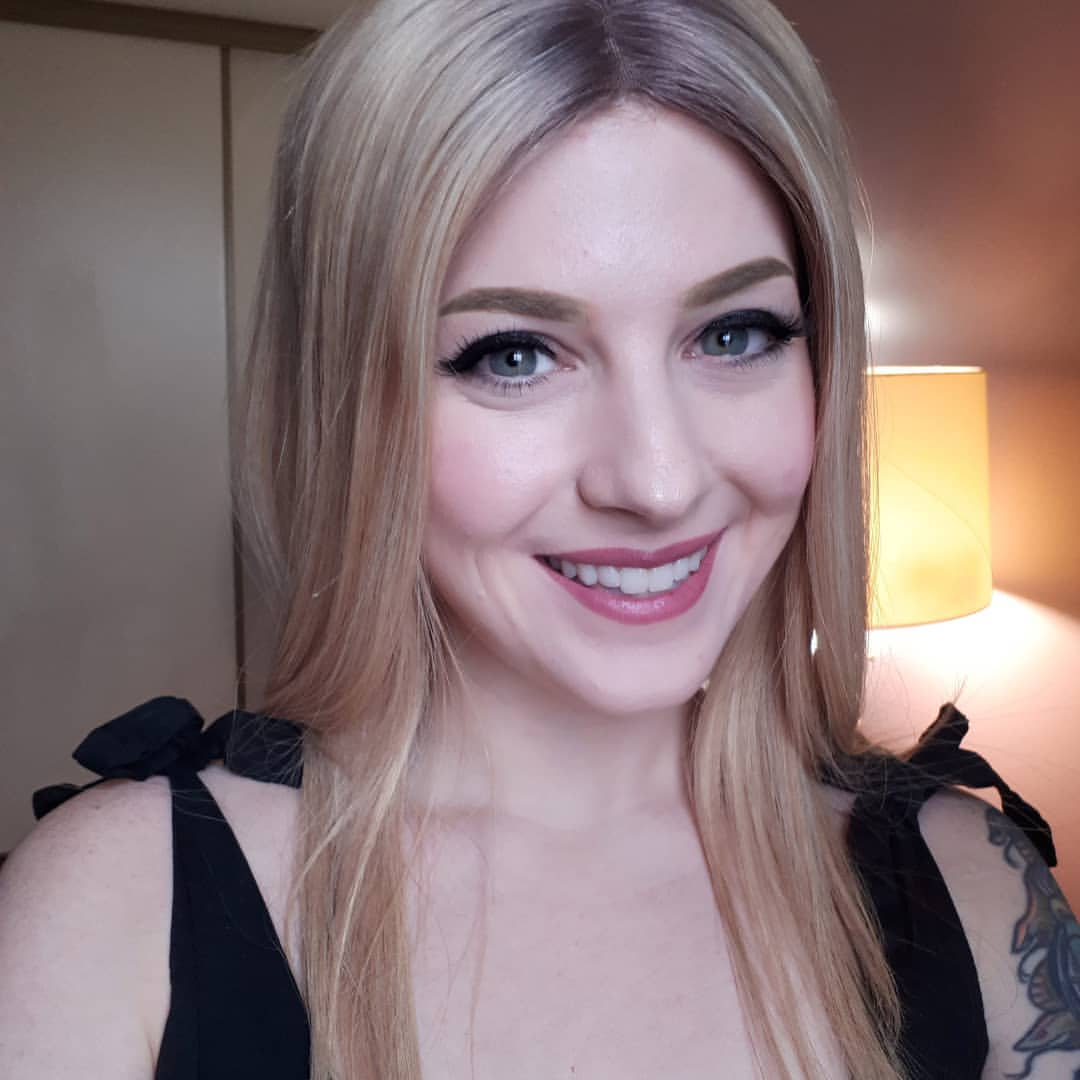
Kali first got her lace front hair topper in the shade 24-613R Summer Shandy, which is a really pretty blonde color. But - it didn't match with her own hair color at all, as Kali has red hair. So, the first thing she did was dye her hair topper to match with her red hair.
When she dyed her first hair topper, she did nothing to the lace to protect it from the hair dye, except being careful when applying the dye. Unfortunately, it didn't work at all and the lace did get dyed. As a result, the hair parting and hairline didn't blend in with her skin color. She tried dabbing some powder and some concealer to the lace, but it wasn't the same.
Kali’s Second Attempt: Protecting the Lace
So when she got her second topper, she did some research on how to protect the mono top base from getting dyed when she dyed it.
Generally, you could use a gel or Vaseline onto the base to stop it from getting dyed. Kali used the Got2B glue for this job and just applied a thick layer to the mono parting area. She then let the Got2B glue dry completely before she started dyeing the hair. And this worked really well.
After Kali dyed her topper, she made several adjustments to ensure it looked natural. How to make a hair topper look natural? Kali took extra steps to fine-tune the topper so it blended seamlessly with her natural hair.
How Do You Make a Hair Topper Look Natural?
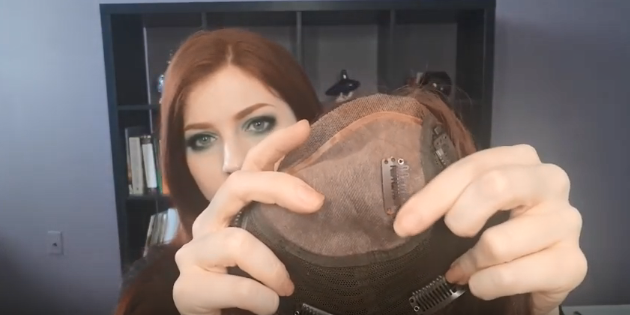
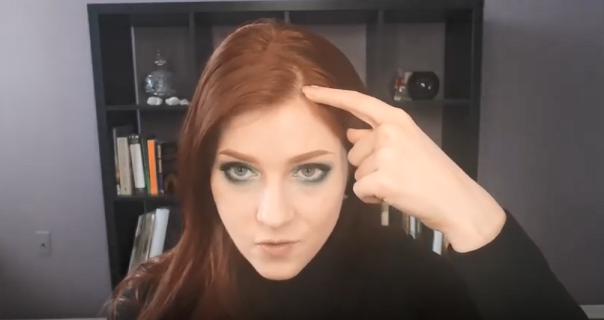
1. Prepare the Bio Hair and the Hair Topper
Kali sewed in an extra clip to help the topper lay more flat, which made a noticeable difference. UniWigs always includes a small bag of additional clips for this very reason. After parting the topper hair where she preferred, she sewed a clip underneath the part on the base to keep the topper in place, also adding some lift to the hair on both sides.
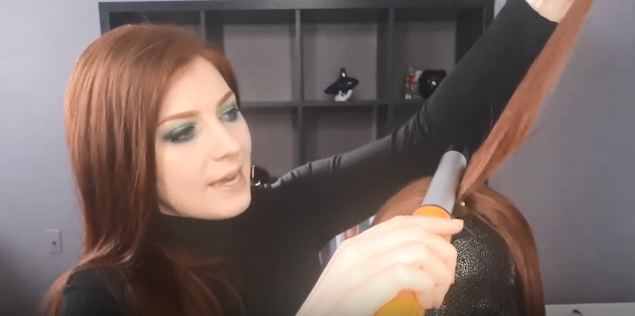
2. Quick Restyling for Extra Volume
To give the topper more volume, Kali did a quick restyling. She placed the topper on a block head, securing it with three pins. Using a pointy comb, she took small sections of the hair and used a curling iron to gently press at the roots. She pulled the hair slightly on the opposite side, which created extra volume and made a noticeable difference. Once the styling was complete, it was time to put the topper on!
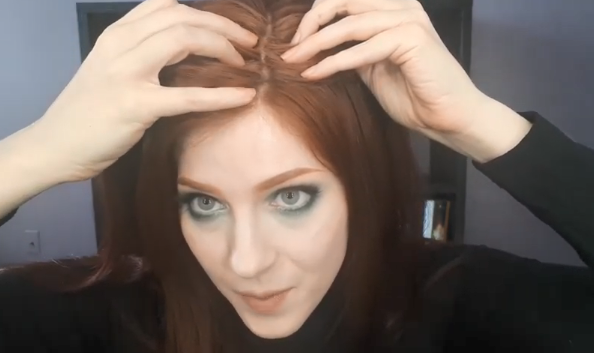
3. Securing the Clips and Blending with Your Own Hair
Next, clip in the four clips until they're securely attached. A good tip is to adjust them slightly before fastening them to get the topper in the right position. After the topper is on, use your pointy comb to brush and blend the topper into your own hair for a more natural look.
4. Concealing the Part
To finish, use an eyeshadow brush and lightly apply eyeshadow powder that matches the topper’s color around the part. Or simply apply some UniWigs hair building fibers. This helps conceal any thinning areas and makes the front of the hair blend seamlessly with the topper’s density.
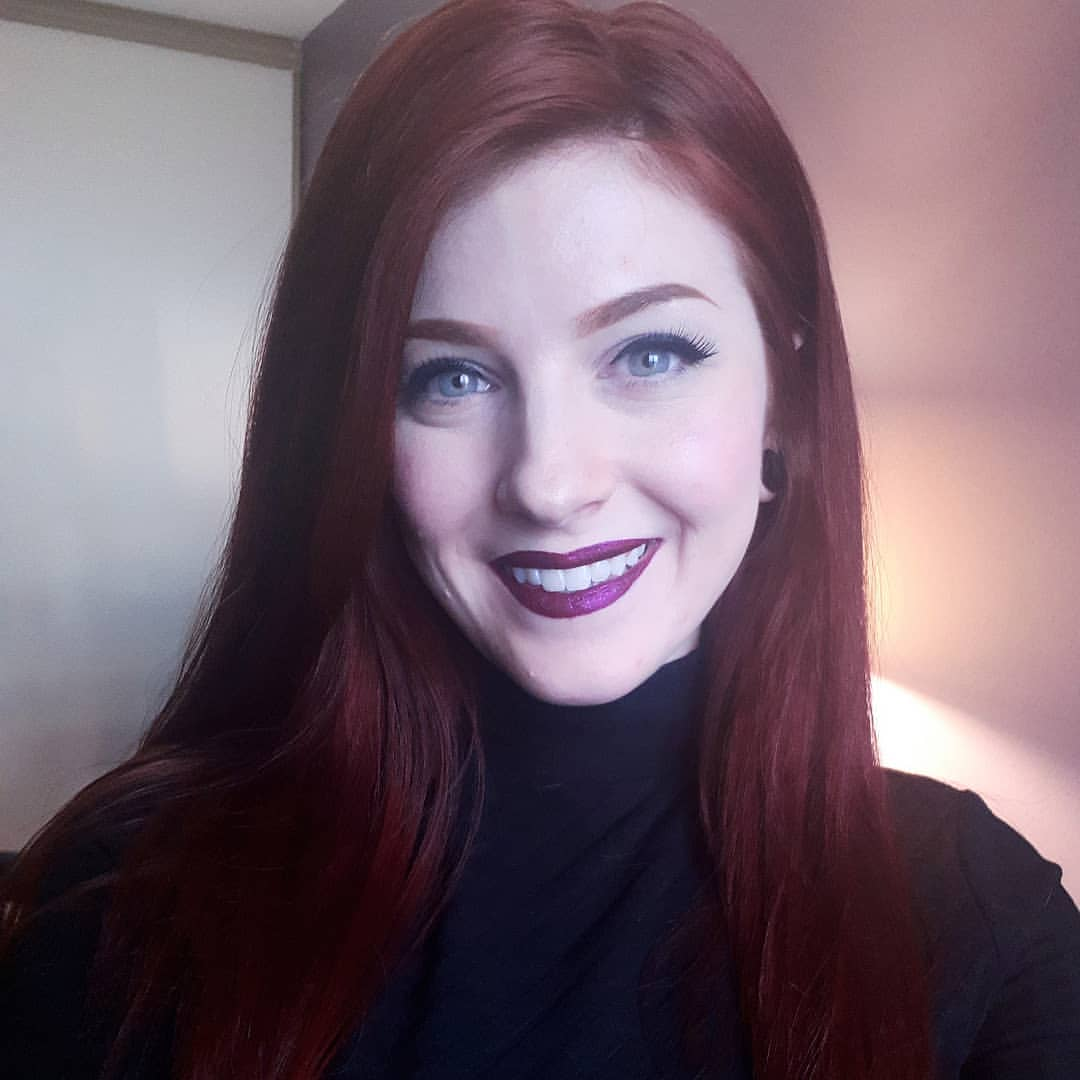
5. Ta-da! Kali's Final Look
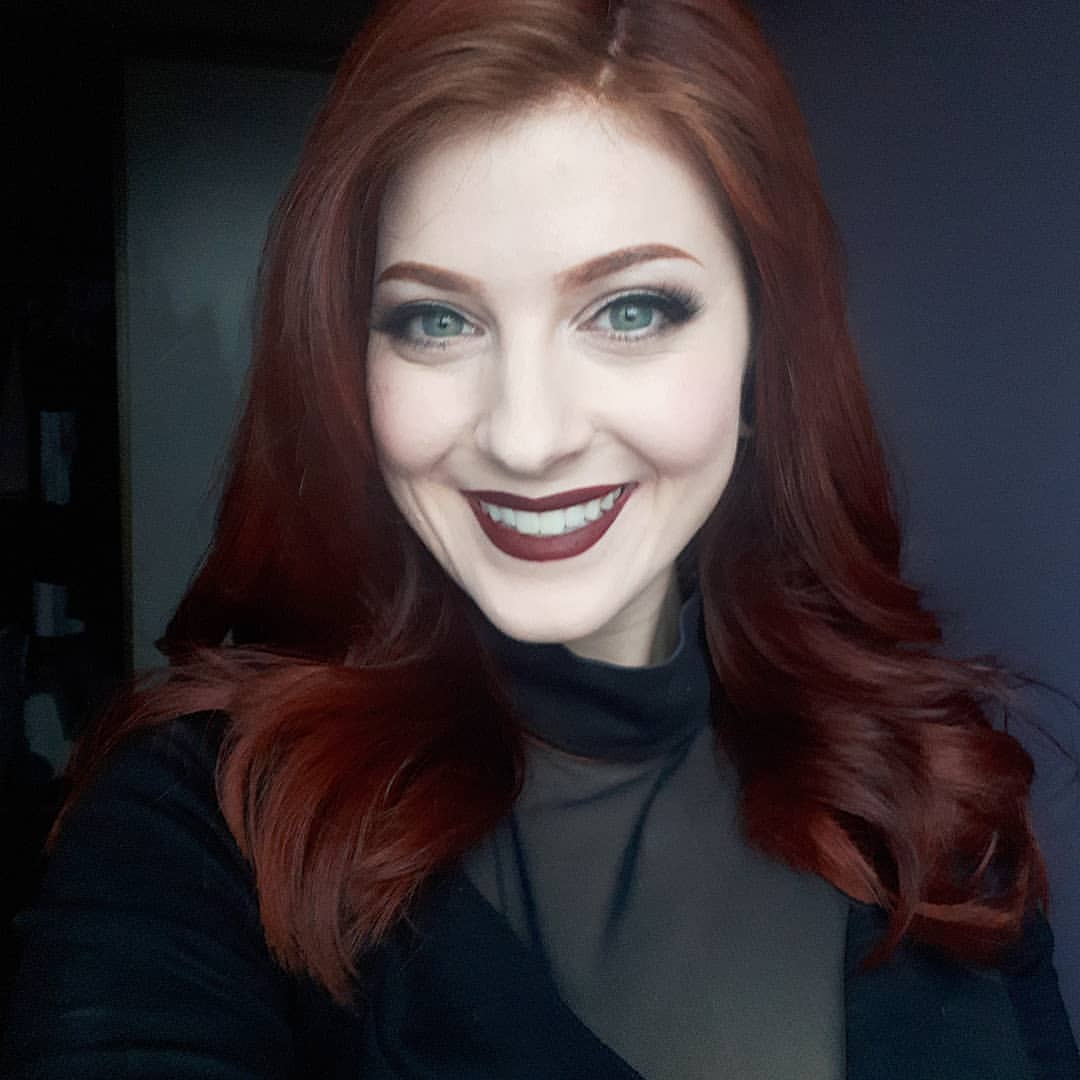
After following these steps, Kali achieved a beautifully blended and natural-looking hair topper.
What are your thoughts on these methods? Feel free to share your tips and feedback in the comments!
Leave a reply